The selected product
Send the product name, plank dimensions, packaging, and manufacturer instructions when available so the flooring can be reviewed as part of the plan.
Flooring installation
A clean floor starts with a plan for the whole room. David talks through the selected product, existing floor, plank direction, seams, doorways, edges, and transitions, then personally completes the agreed installation and cleanup.
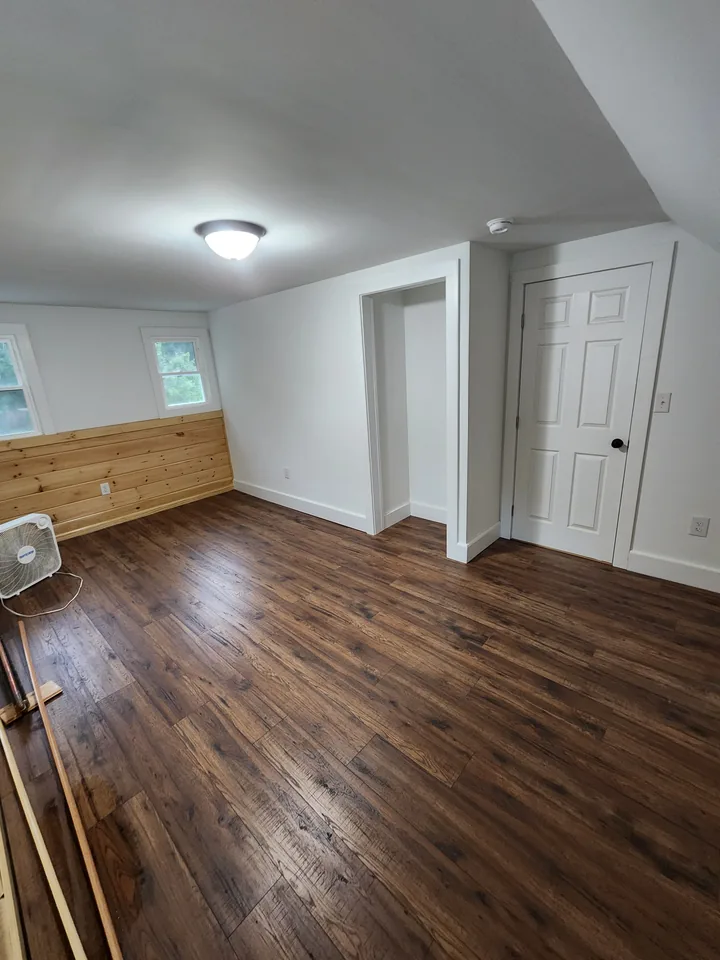
Plan the room as one surface
Sharing the exact product and clear room photos gives David the information he needs to discuss the layout and preparation without guessing.
Send the product name, plank dimensions, packaging, and manufacturer instructions when available so the flooring can be reviewed as part of the plan.
Room shape, sight lines, doorways, edges, and connections to neighboring surfaces all influence plank direction and finish details.
Send wide room photos and close views of the current floor and transitions. David will confirm what access or room preparation is needed before work begins.
David’s process
David stays accountable for the conversation, layout, installation, finish details, and cleanup.
Call, text, and send photos so David can understand the rooms, existing floor, selected product, and what you want installed.
Talk through plank direction, seams, edges, doorways, transitions, product information, and work involved before installation begins.
David completes the agreed installation himself with attention to the layout, seams, perimeter edges, doorways, and transitions.
David checks the finished work with you and cleans the work area before the project is wrapped up.
Room size and shape, the existing-floor condition, product requirements, layout, doorways, edges, and transitions all affect project timing.
David can discuss timing after he reviews the room photos, product information, and agreed scope. No duration is assumed before those details are understood.
Helpful answers
Send the product name, manufacturer information or installation instructions, plank dimensions, and photos of the packaging if available. These details help David review the selected flooring before installation is planned.
David considers the room shape, sight lines, doorways, edges, transitions, and the selected product requirements before discussing plank direction with you.
Send room photos, the approximate dimensions if known, views of the existing floor, and close photos of doorways and transitions. David will confirm what needs to be accessible or moved before work begins.
Timing depends on the room size and shape, existing-floor condition, product requirements, layout, doorways, edges, and transitions. David can discuss timing after reviewing the project.
Mr. Backsplash serves Saratoga Springs, Clifton Park, Lake George, and nearby 518-area communities. Send your town or ZIP with the room details so David can confirm the service area.
Start with the room
The message is already written. Add your town or ZIP, attach room and product photos in your text app, and review it before sending.