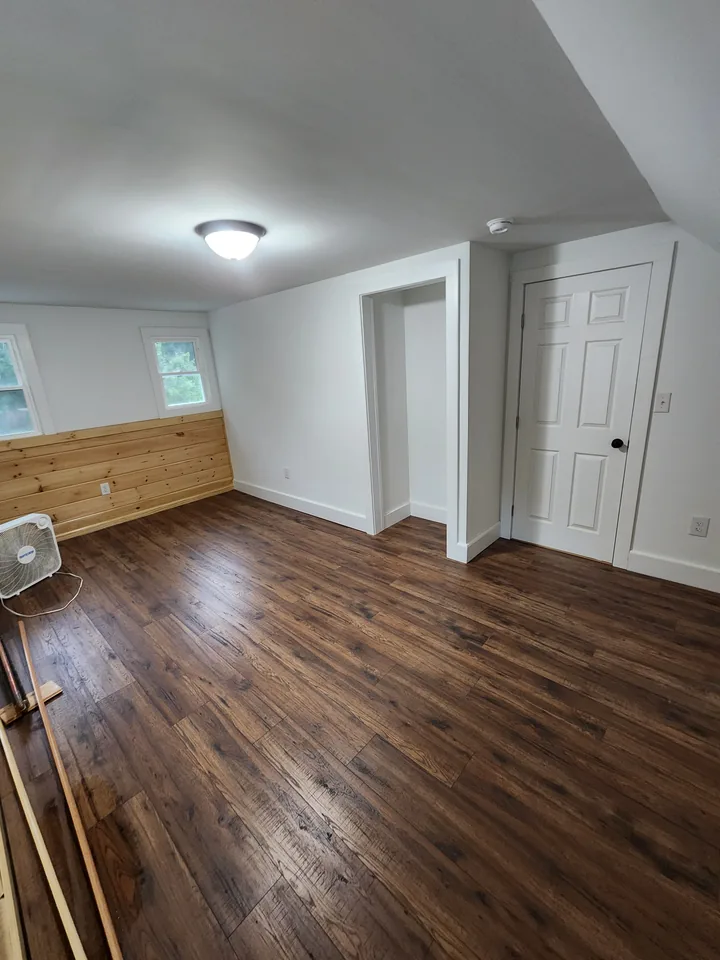
The simplest preparation step is to make hidden assumptions visible. Before work begins, make sure you and David are discussing the same rooms, surfaces, materials, boundaries, access, and related work.
Confirm what is included and what is staying
Walk through the exact tile or flooring area. Identify where the new finish begins and ends, what will be removed, what must remain, and which adjoining surfaces need to be protected or met with a transition.
Ask who is responsible for moving appliances, disconnecting plumbing, removing trim, handling disposal, or coordinating another trade. The answer can vary by project, so put it in the conversation instead of relying on a general checklist.
Send one final set of photos if the room, cabinets, fixtures, damage, or material selection changed after the estimate discussion.
Keep the selected material identifiable and protected
Keep tile, flooring, trim pieces, grout selections, and product labels together. Do not discard packaging before the material and installation requirements have been reviewed. Product name, color, size, lot information, and manufacturer directions can matter when checking that all pieces belong to the same plan.
- Confirm the main field material and any accent, edge, or transition pieces.
- Inspect visible pieces and packaging for damage or obvious mismatch.
- Keep leftover matching tile or planks available for future focused work.
- Follow the product manufacturer’s directions for storage, site conditions, and any acclimation requirement.
- Do not assume every mortar, adhesive, grout, underlayment, or trim works with every material and substrate.
If part of the order is delayed or a selection changes, tell David before the start. A substitute can affect thickness, layout, edge treatment, joint choice, or the supporting system.
Clear the work area and the path to it
Remove small belongings, countertop items, wall hangings near the work, floor mats, and fragile objects from the project area. Create a practical path from the entry to the room and identify where materials can be brought in without blocking an exit.
For floors, discuss furniture, appliances, doors, base trim, closets, and connected rooms. For a backsplash, clear the counters and protect or remove items that could interfere with access to outlets and walls. For a bathroom, remove toiletries and freestanding items, and confirm which fixtures remain usable.
Do not remove a heavy fixture, disconnect an appliance, or alter plumbing or electrical work unless that responsibility has been clearly assigned and can be done safely.
Leave known conditions visible
Show uneven areas, movement, water stains, soft material, cracks, damaged subfloor, loose tile, previous patches, and transitions to other finishes. Tile and flooring rely on a suitable supporting surface, and preparation needs depend on the actual condition beneath the finished material.
At doorways and room edges, note the height and type of the adjoining floor. Doors, casings, thresholds, vents, cabinets, stairs, and fixed appliances can all affect how the new finish terminates. Photos with the door open and closed can reveal details a close crop misses.
Related renovation work changes the sequence
Tell David if cabinets, counters, plumbing, paint, drywall, electrical devices, shower glass, or another floor are also changing. The order should be coordinated around the actual project rather than assumed from a generic schedule.
Plan for people, pets, and everyday use
Choose a safe plan for children and pets away from tools, open work areas, materials, and doors being used for access. Let David know about parking limitations, entry instructions, building rules, alarm procedures, or any person who needs continued access through the room.
Ask which areas will be unavailable and what you should expect regarding noise, dust control, ventilation, water, power, or drying and curing restrictions. These details depend on the installation system and material, so use the instructions for your project rather than an online time estimate.
Day-before check
- The current scope and selections match the latest conversation.
- Materials and product information are available.
- Belongings and fragile items are out of the work path.
- Known damage and access constraints have been disclosed.
- Pets, children, parking, entry, and building requirements are planned.
- You know how David will reach you if a decision comes up.
Installation preparation questions
Should I remove the existing tile or flooring myself?
Only if that responsibility has been discussed and the material can be handled safely. Removal affects substrate visibility, disposal, transitions, and scope, so confirm the plan before changing the room.
Should I buy extra material?
Material needs depend on layout, cuts, breakage risk, pattern, product variation, and future repair goals. Ask David what information is needed to discuss quantity rather than relying on one universal percentage.
When can the room be used again?
That depends on the installed product, setting or flooring system, environmental conditions, and manufacturer instructions. David can discuss project-specific restrictions once those details are known.