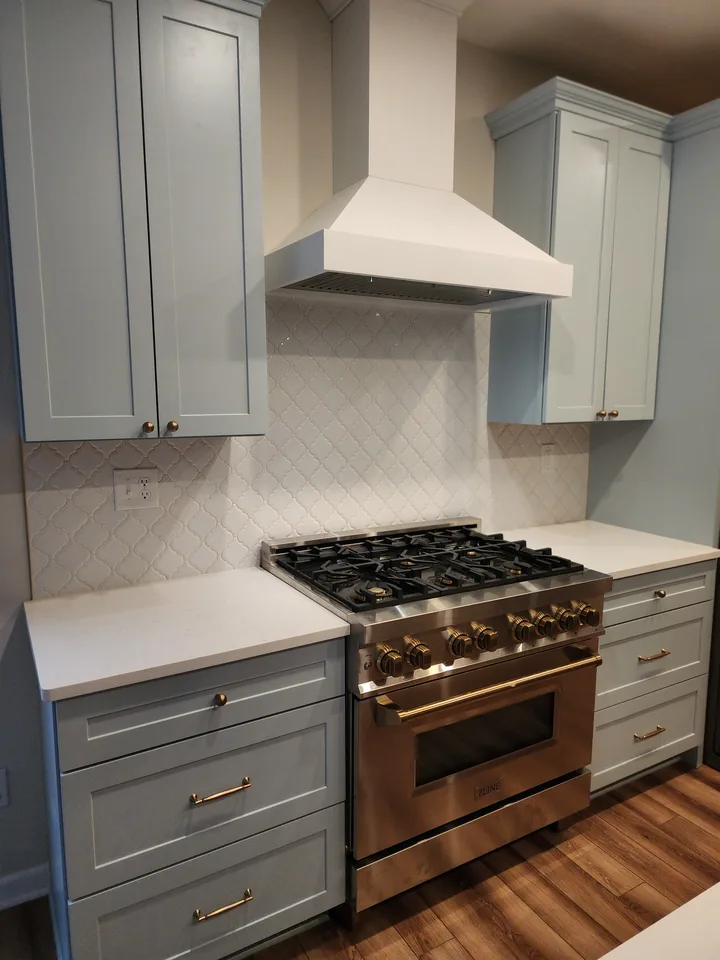
A consistent horizontal band
White rectangular shapes run between the counters and cabinets across the visible walls.
Kitchen backsplash · Finished view
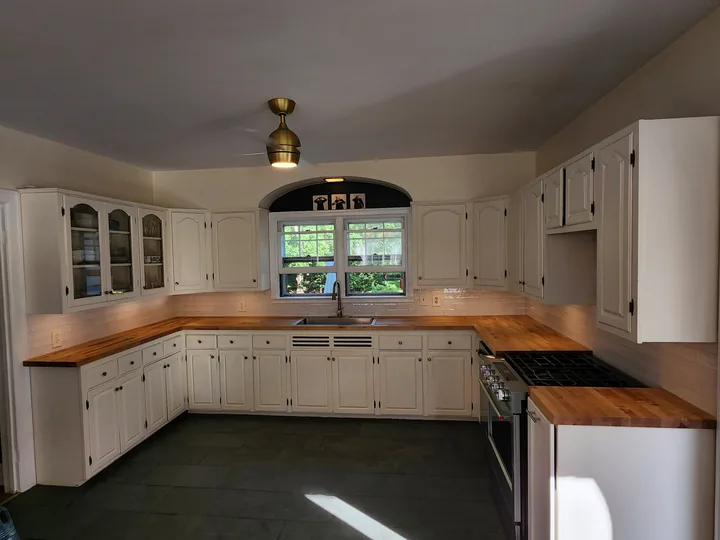
A white horizontal running pattern creates a bright band between wood cabinetry and dark counters around a large kitchen.
A closer look at the layout, pattern, transitions, and finish work throughout this installation.
White rectangular shapes run between the counters and cabinets across the visible walls.
The installation passes the sink window, range, microwave, outlets, and open cabinet ends.
The light backsplash separates warm wood cabinets from black counters.
Send David a few photos of your space and the tile you are considering. He can review the layout, edges, and other project details with you before the work begins.
Read the kitchen backsplash planning guide →Wide photos help show cabinet lines, counters, corners, windows, outlets, and the main focal area before layout is discussed.
Tile size and pattern affect where cuts land around outlets, cabinet ends, windows, and the space behind a range or sink.
Share the exact product, intended pattern, grout preference, and any exposed-edge condition so the visible details can be planned together.
Include your town or ZIP, wide photos, close details, approximate dimensions if available, and the exact product you are considering.