A small repeating shape
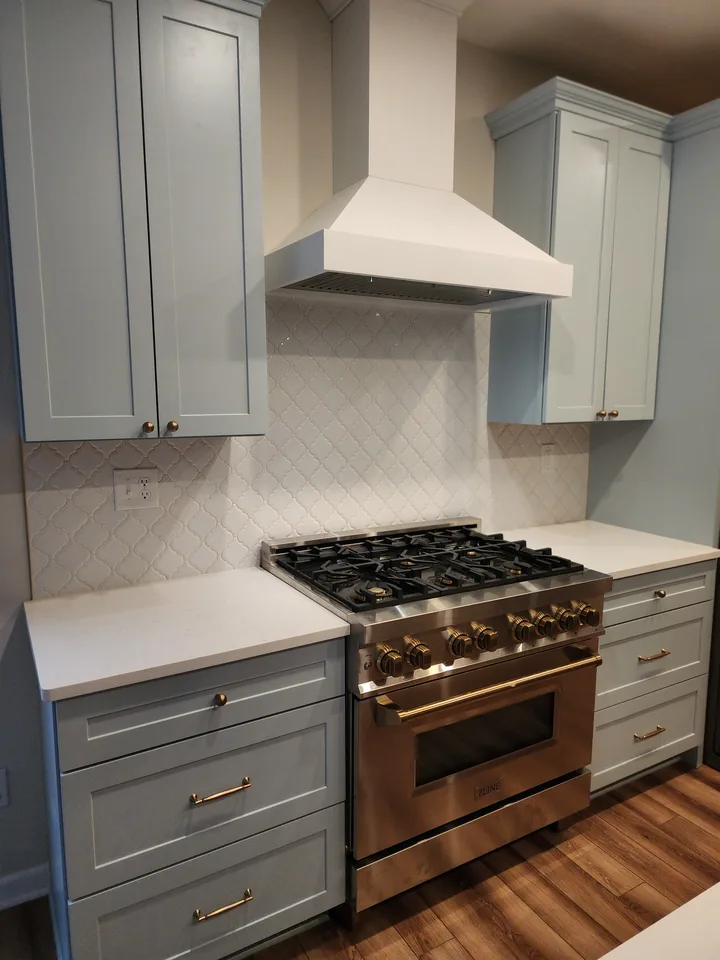
Light diamond forms are connected by dark points across the backsplash field.
Kitchen backsplash · Finished view
A light diamond-pattern mosaic with dark intersections runs across the counter wall and beneath a window.
A closer look at the layout, pattern, transitions, and finish work throughout this installation.
Light diamond forms are connected by dark points across the backsplash field.
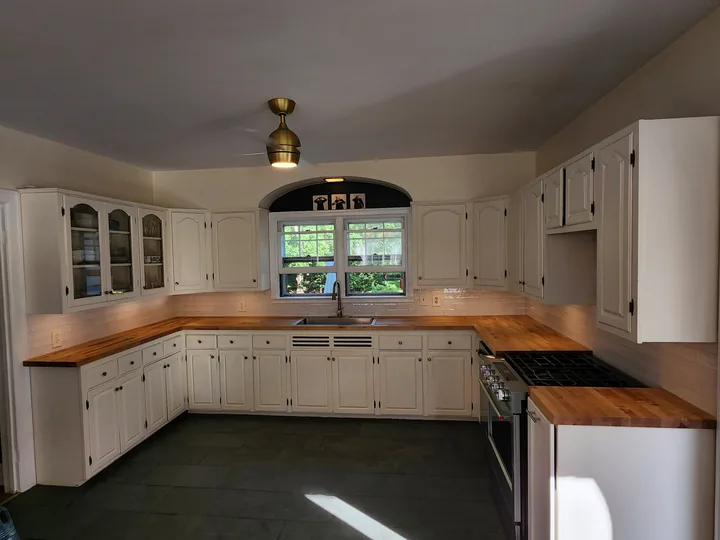
The pattern continues below and to both sides of the window.
The light field sits between dark lower cabinets, wood upper cabinets, and a light counter.
Send David a few photos of your space and the tile you are considering. He can review the layout, edges, and other project details with you before the work begins.
Read the kitchen backsplash planning guide →Wide photos help show cabinet lines, counters, corners, windows, outlets, and the main focal area before layout is discussed.
Tile size and pattern affect where cuts land around outlets, cabinet ends, windows, and the space behind a range or sink.
Share the exact product, intended pattern, grout preference, and any exposed-edge condition so the visible details can be planned together.
Include your town or ZIP, wide photos, close details, approximate dimensions if available, and the exact product you are considering.